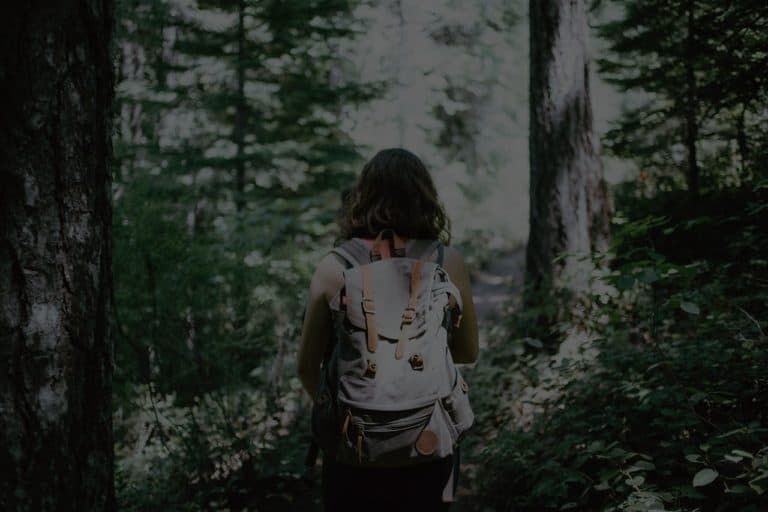
How to Build a Bug-Out Bag the Right Way
You have decided to get more serious about prepping and want to put together a bug-out bag. However, you want to keep it light and you do not want to spend a lot of cash. There are a few strategies you can use to accomplish this, and some items that are an absolute must.
What is a Bug-out Bag?
First, let us define a bug-out bag. This is a pack preloaded with tools to help you survive if you are forced out of your home. Experts say that the average bug out situation lasts between two and three weeks, so you need enough supplies to at least get you through that time frame.
Disclosure: when you click a link leading to a 3rd party website, I may earn a commission if you make a purchase. As an Amazon Associate I earn from qualifying purchases.
Many bug-out bags are labelled as “72 hour bags”. However, in theory the same supplies that help you survive three days would help you survive for a week or two. This theory is called the survival clock. Let us not confuse this bag with a get-home bag, which is intended to get you back home from the office or from your car. Your list of tools will vary quite a bit between these two scenarios.
Pre-packed Bags
I do want to take a moment to address pre-packed bags you can purchase online. First of all, these are very expensive. You could easily spend several hundred dollars on one of these packs. More importantly, survivalists who buy pre-packed bags are less likely to break into the pack and become proficient with the tools inside. By forcing yourself to hand pick each item, it ensures that you will be more prepared if you have to use the bag in a survival situation.
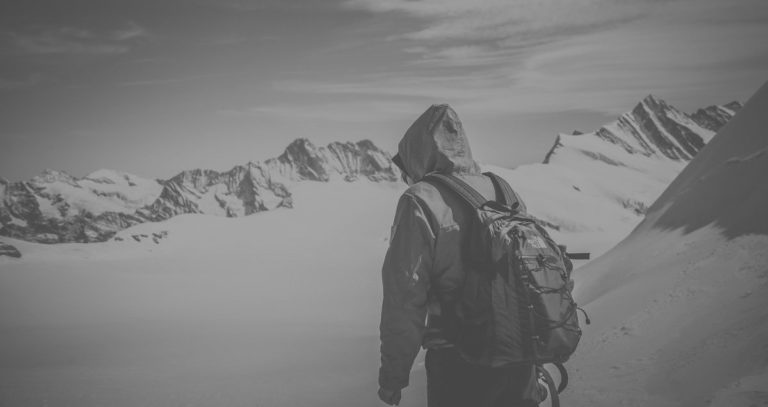
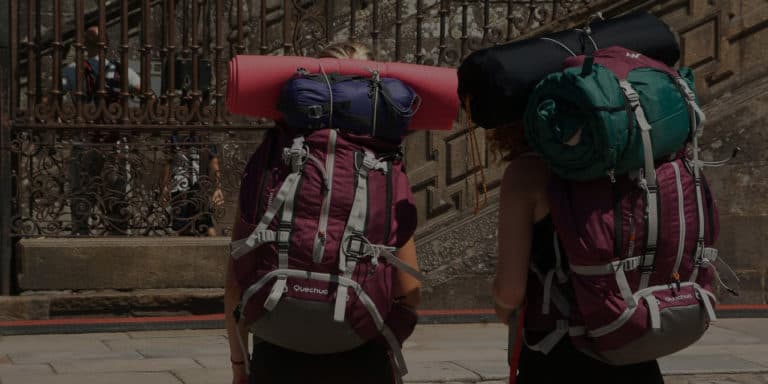
Which Bag is Right for You?
We can start by discussing the bag itself. The size you choose will be determined by how much gear you pack, which is in turn determined by your skill level. The more experience I gain with survival techniques, the less gear I need to pack.
Also, try to avoid any packs that would make you stand out in a crowd. Other people may be desperate in this situation and may try to steal supplies from those that are more prepared. If you can keep your pack size down to a normal back pack, this is ideal. If not, you definitely want it to have an internal frame. Packs with external frames scream “I have lots of gear, come and take it.”
Rules for Packing your Bag
As you start to look at items to pack, take a look at the four pillars of survival: food, water, fire, and shelter. In addition, you may consider first aid and signaling to be two secondary priorities. Some general rules to consider on every piece of gear are as follows:
- Ask yourself if you absolutely need it. This is especially true of large or heavy items. For example, there is no point in taking a cast iron skillet if you can take something lighter and smaller for cooking. I always try to keep my pack weight under 25 lbs.
- Always comparison shop. Every time I choose a piece of gear for my pack, I get online to see if I can find a more effective, lighter, smaller, or cheaper option. In just a matter of minutes you may save a few lbs or save a few dollars.
- Make sure you have a plan B. The one thing you can say about every survival situation is that something unexpected will go wrong. Instead of just taking waterproof matches, take a ferro rod as well. This way you can still light a fire if you run out of matches.
- Do not just think of yourself. In many cases you will have family or friends with you, so consider their needs when you pack. Also, try to bring items for bartering if you have the space. Cigarettes are an item that takes up little space but would be in high demand. You can pretty well ask for whatever you want if you have smokes and nobody else does.
Cutting Tools
Now that we have some basic guidelines, let us discuss specific items. Cutting tools are at the very top of the list. A good full tang knife is essential in most survival situations. You do not have to break the bank, but get a knife with high carbon steel for the blade. This will allow you to use it with your ferro rod. You can get a perfectly functional knife for a very reasonable price.
Depending on the type of vegetation, a hatchet, machete, or folding saw may be smart as well. These items take up space, so only take one if you know you will need it. These bladed tools will help you to fashion other tools and also help with building a shelter.
Fire-starting Devices
Next on my list would be two methods for starting a fire. For me a ferro rod is mandatory. This item can allow you to start a fire even if you get it wet, and it will last a very long time. A secondary option would be a good lighter. I like Zippos because they work when wet, they are wind proof, and you can refill the fuel with several different flammable liquids. They recently have come out with several electrical lighters that would probably work well, but you would need a way to charge one.
With fire allowing you to safely cook food, purify water, keep away predators, stay warm, and keep the bugs away, it should be a major priority. I would also consider taking one of the waterproof tinder options you can buy. Just a few small cubes could last for weeks and help you get a fire going in the pouring rain.
Water Purification
In most conditions you can only survive without water for three days. Having a secondary method with which to purify water is very important. You will not always be inclined to build a fire just to get a drink of water.
I like carrying some water with me, so I have a water bottle with a filter built into the lid. It takes up some space, but I can clip in on my belt. You can also get a steel bottle so you can use it for cooking as well. If you need to save more space, a straw style filter works great. I also like to carry iodine tablets just to be safe. I have had my filter clog up before and needed the tablets to get by.
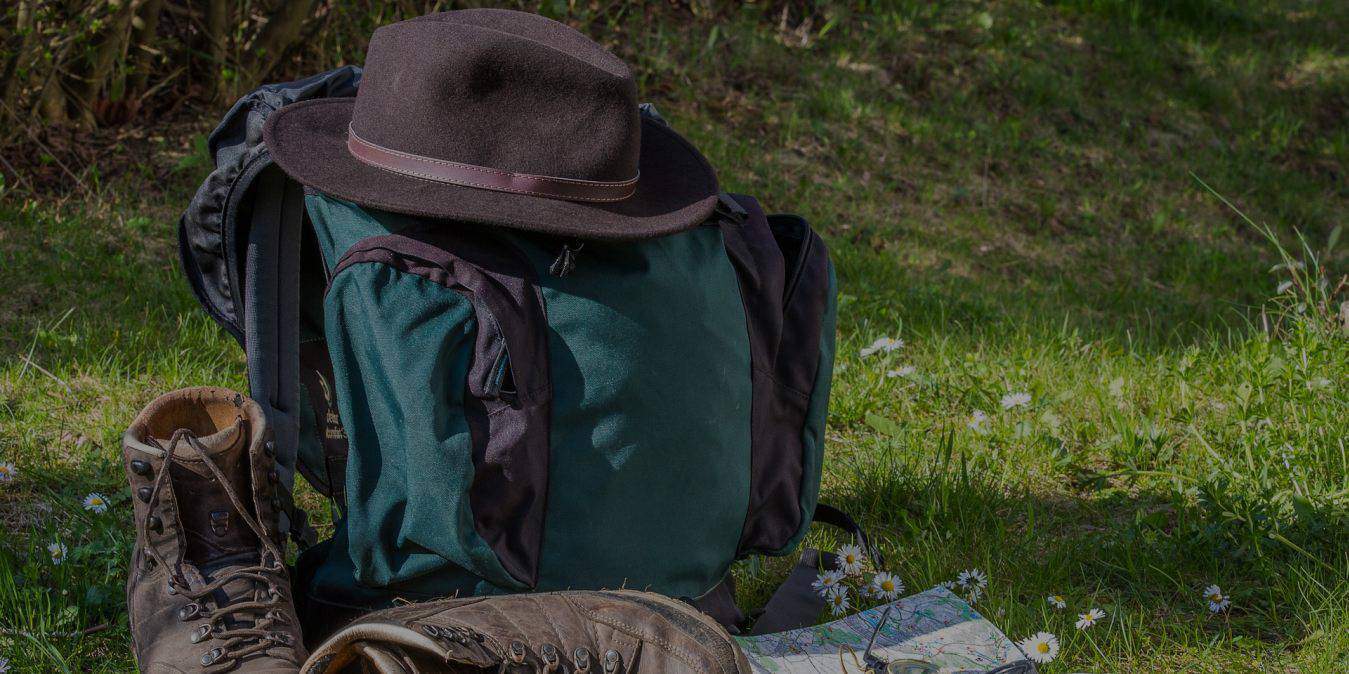
Shelter Building Materials
There are a few items for shelter that I consider a must. A good emergency blanket is definitely one of them. For about $10 you can get a thick tarp-style blanket with a reflective surface on one side. This is great for a waterproof shelter or to wrap up and keep warm in a jam. If there are several people in your group, upgrading to a full sized tarp may be a good idea.
Paracord is another item which I always have in my pack. Sure you can make your own cordage, but paracord is so much easier. You can cut it open and remove all the interior strands for projects ranging from setting snares to lashing poles together.
Weapons
The biggest debate in my mind is whether to pack a weapon or not. Having a gun or bow is great for self-defense and for hunting, but they are bulky and do not pack well. A handgun is great because of the size, but it is a sure fire way to disclose your location. A crossbow is silent and deadly, but it is awkward to carry.
In my opinion the decision comes down to the distance you need to travel. If you are staying close, it is probably worth toughing it out and taking the weapon. If you have a long distance to travel, carve yourself a spear and do without the gun or bow.
Food and Water
Food and water are other items that are up for debate. What I mean is actually taking food and water with you in your pack instead of procuring it in the wild. Having any meaningful amount of food or water would take up significant space and would be quite heavy.
If you are going to take food with you, I would definitely suggest something lightweight that does not spoil. Beef jerky, pemmican, and MRE bars are examples that might work. Unless heading into the desert, I would not suggest carrying much water. I sometimes fill up my small water bottle before I hit the woods, but any more than that would be counterproductive.
Miscellaneous Items
Finally, there are a few small random items that I normally keep in my pack. Fish hooks are normally either in my pack or stuck in the bill of my hat. You can make fish hooks, but they take up almost no space. I like to have a sharpening stone.
Again, you can find one in the wild but it is so small that I can keep it on my keychain. A quick-read digital thermometer is a smart choice. Whether you are ill, dealing with extreme cold, or enduring extreme heat, knowing your body temperature is smart. If it drops below 95 degrees or spikes above 103 degrees then you know you need to take action to improve your situation.
A reliable compass is also a good idea. In most cases I can find my cardinal direction without one, but a little reassurance is a good thing. Mine also has a magnifying glass for starting fires. A signaling whistle is another small item that can be very helpful if you need to signal for rescue. A good tactical flashlight is needed for emergencies, but eventually you will need batteries. Also, do not use your light as a crutch. Once the sun goes down, you really need to be settled in for the night. Walking around at night can be dangerous for several reasons.
Organizing and Testing your Gear
Once you think you have your bug-out bag put together, you are just getting started. Try taking it with you for some primitive camping. You will quickly realize that some items are not important while others are vital. When you get home, reevaluate the items in your bag and make changes as needed. Remember to shop around and you should be able to keep cost to a minimum. All of the gear I have ever used in my bag cost me about $140. That being said, I have removed more than half of those items. At this moment my pack only has about $65 of gear inside.
One other point to mention is that you can carry small gear outside of your pack. With cargo pants I have six pockets in my pants and five pockets in my jacket. I can put my knife and hatchet on my belt, and use carabiners to attach other items to the outside of my pack. It does not help with the weight, but it does give you a little more space in your pack.
Modular Bug-out Bags
Organizing your bag is every bit as important as getting the right gear. A modular bug-out bag is a system that divides your pack into several categories. You can organize by the type of gear, or by the time frame you expect to be away from home. Either way pack several smaller bags, label what is in them, and put them all in your primary pack. With this system you can make last minute adjustments to your pack to keep the weight down. You can also ensure you are not forgetting anything.
In my opinion, there needs to be at least one general emergency kit in your bag. This is a small kit that you can carry in your pocket or latched to your belt if you leave your large pack behind. Inside your pack you may have a first aid kit, a fire-building kit, and a fishing kit, but you also need a kit that will cover all four pillars of survival for at least a few days.
For example, I will sometimes stuff my filtered water bottle with a folding knife, some fish hooks, a ferro rod, a few fire cubes, my emergency blanket, some iodine tablets, and some paracord. It also has a paracord lanyard that allows me to hook it on my belt. This kit is compact and only weighs about a pound, but it has most of the important items from my pack.
As you tackle this project, take your time and do it right. Spend time shopping for the best value and try to avoid impulse buys. I suggest purchasing just a few items at a time so you can give each one a good amount of attention. If you purchase online, most items will have a weight and size listed. Just remember that every once will count if you have to travel dozens of miles. Once you have your items, pretend that you are reviewing each item and put it to the test. If your tools are not ideal, you want to know that well before you end up in a survival situation.